
Bikepacking
Contributor - Bill Ferriot • Ray George
The Basics • Bikepacking Routes • Recaps • Bikepacking Websites

Discover.
It’s like backpacking, but on a bike! Here’s an idea, how about letting your bike carry all the weight? All you have to do is pedal it. Sound easy? Just about, but there are a few things to consider. One is - you guessed it - weight. The more you carry, the harder it is to get over that next hill. We’ll teach you some basics so you can get started on your own journey, exploring further than you had ever thought possible!
You may have heard of bicycle touring. What sets bikepacking apart from bicycle touring?. Bikepacking routes focus on less traveled gravel roads with a smattering of single track or rougher roads on some routes.
Our friends from PathLessPedaled.com lump it all together and call it “Bicycle Tourism.” Check out their video to learn more…
“Perfection is achieved not when there Is nothing more to add, but when there is nothing left to take away.”
The Basics
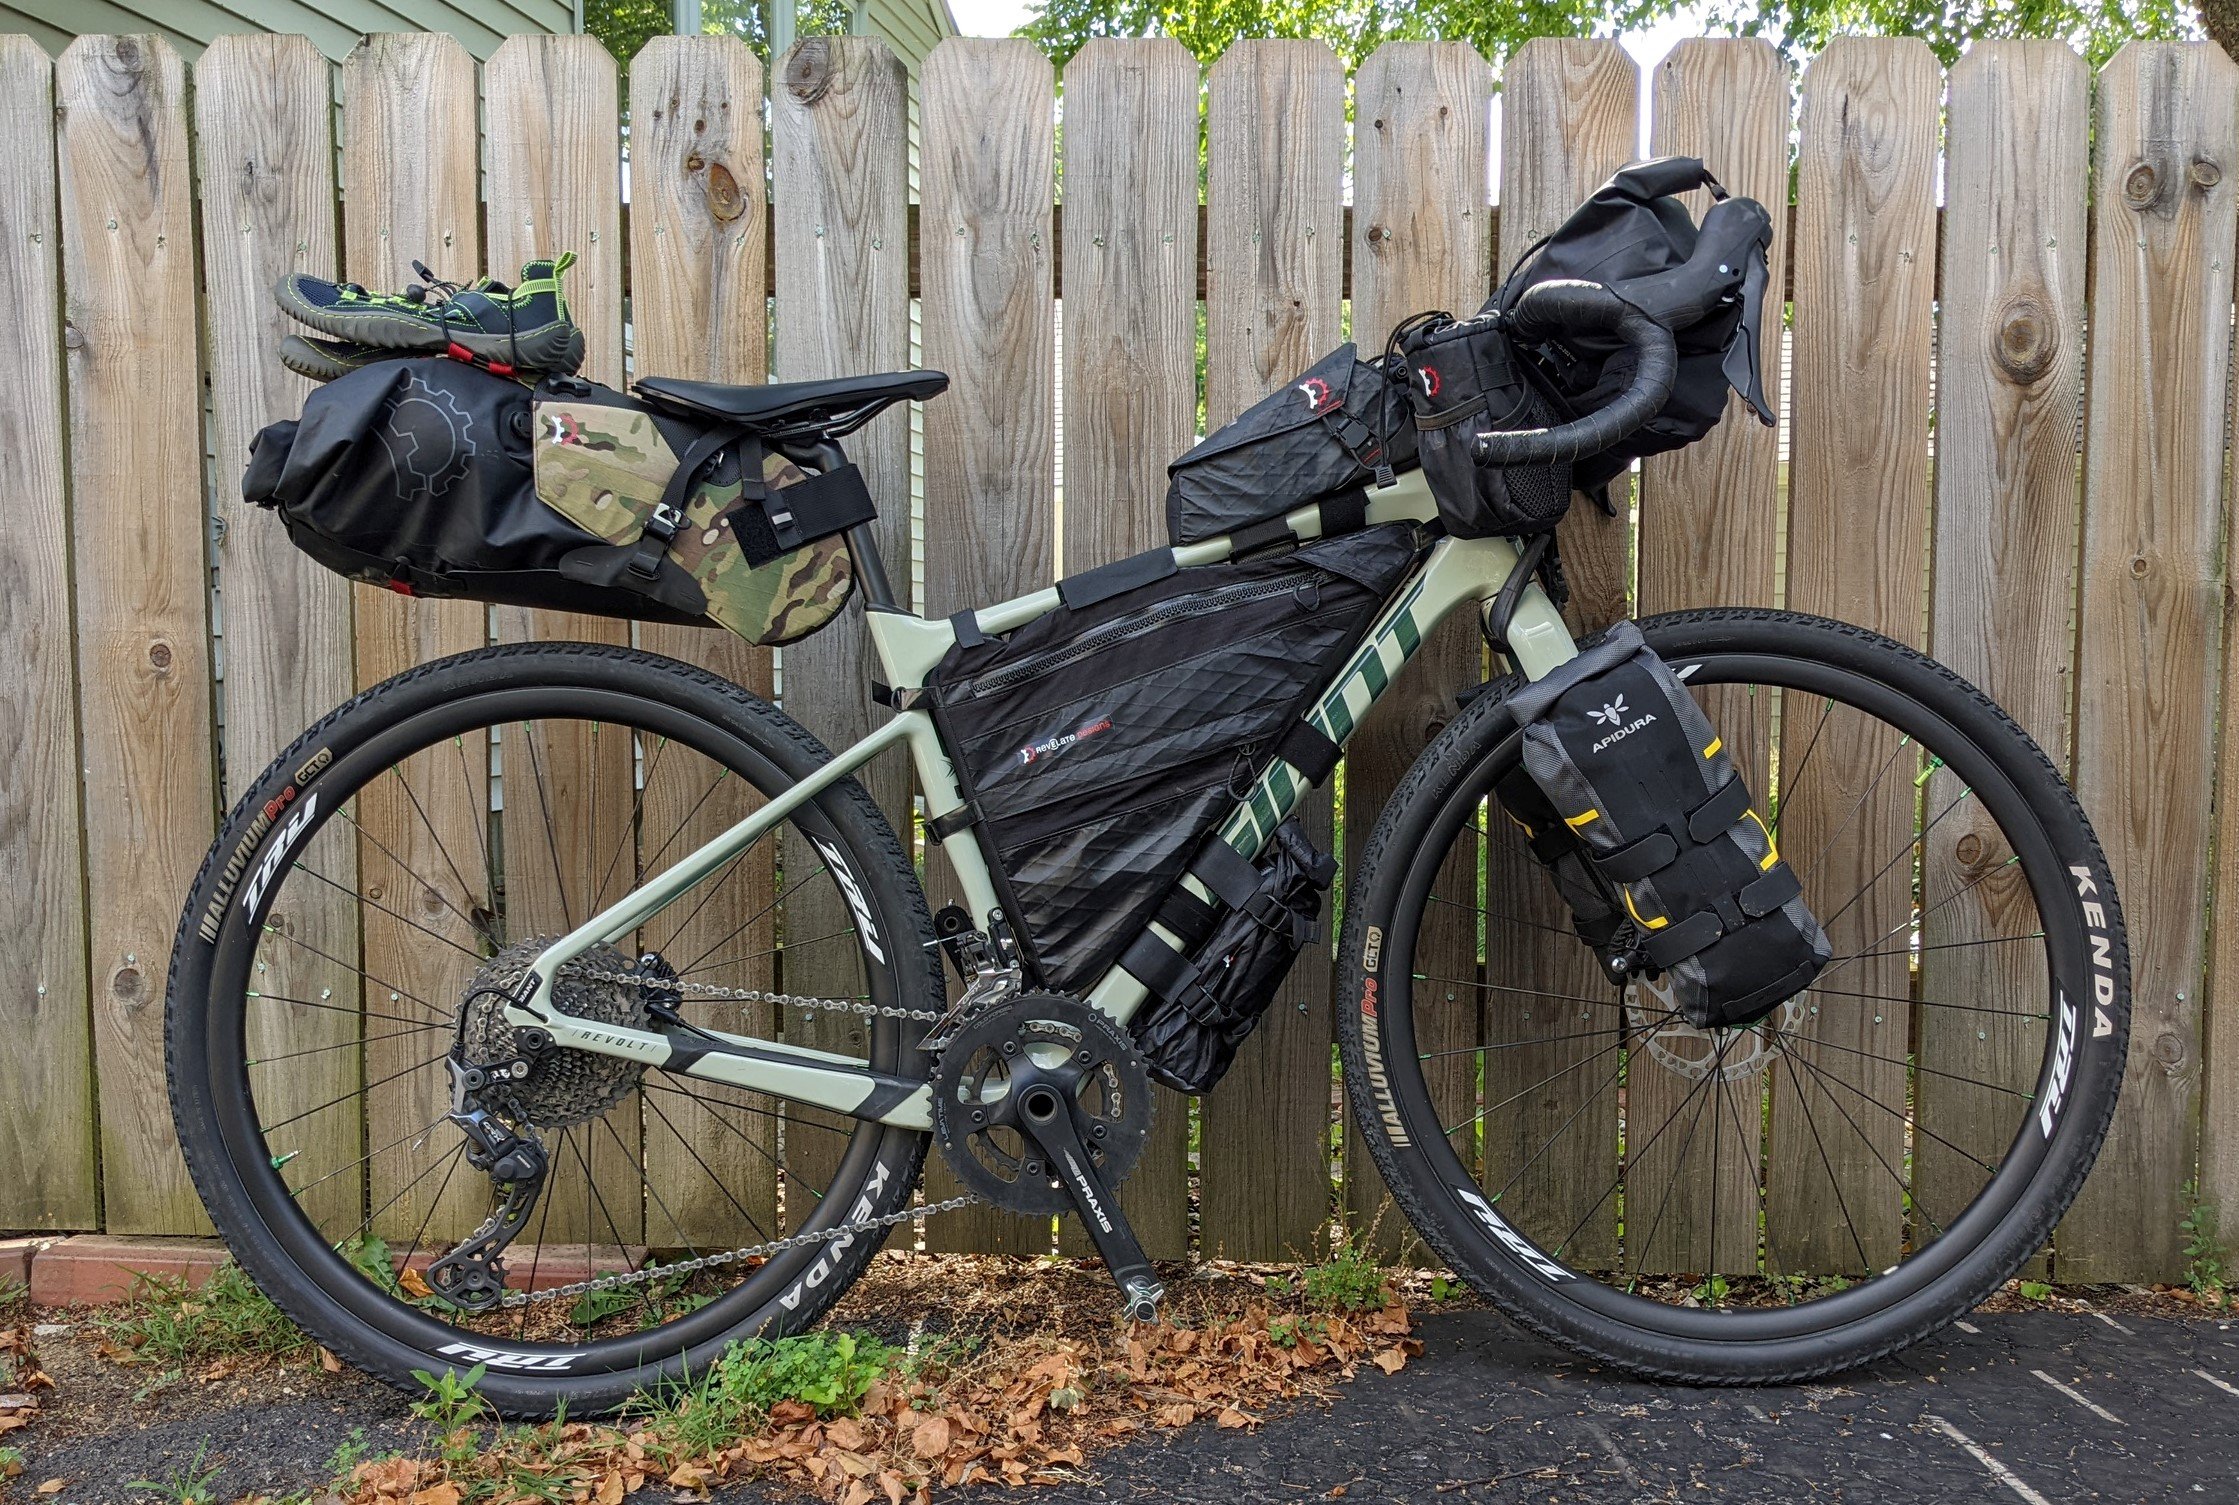
Everyone’s cockpit is different. Embrace it!
Bike - Just like gravel grinding, the best bike for touring is the one you already have. No, seriously, start there. Learn how to strap gear to your bike. You don’t necessarily need fancy racks and packs to get started. If you can afford a pack of bungie cords, you can bikepack. Once you get your feet wet, you’ll quickly learn what works and what doesn’t - like you're gearing! You’ll probably figure out that you need MUCH lower gears to get up and over the hills when your bike is fully loaded. Also, starting out modestly helps you figure out who else tours on their bike, or where to go, for how long, and what bike is better suited to your needs. Keep it simple to start out and go somewhere close, so if you do have to bail, you’re close to home. Try an overnighter (or S24O) for example.
Are you riding a small frame? Check out “overcoming the challenges of bike packing on a small frame” from contributor Teresa Patrick.
The choice is your’s on how much you want to rough it.
Tools - Spare tube, patch kit, pump or other way to get air into your tire, tire levers, and a multi-tool (preferably one with multiple allen wrenches). Minimum. These are good things to have because you’re miles and miles from nowhere: chain tool and a spare quick link, zip ties, electrical tape, cell phone (although you might not have coverage) Also look into satellite communicators if you want peace of mind for you and your loved ones.
What else? A tire boot, emergency derailleur hanger (trust me on that one), maybe a spare set of brake pads (make sure you have the right pads!) and spokes. Ultimately, it’s up to you to know your limits and comfort level. Most of the time in a larger group, at least someone has something to contribute to the situation.
Clothing - You already have everything you need. It doesn’t need to be bike-specific, but if you have that too, that’s cool. Your best bet is wearing fabrics that dry fast and keep you warm and dry. Those things aren’t necessarily all found in a single item. What you’ll want to do is layer. Layering many thin fabrics is better than layering a few thick ones. For example, don’t ride in a heavy insulated jacket. If you must take it, save it for when you stop or get to your destination to warm up. The last thing you want to do is sweat and get cold. It’s really hard to recover from that. Synthetics don’t absorb moisture as much, but they can feel like a plastic bag sometimes. We’d recommend natural fibers like wool and down. They have properties like staying warm when they get damp and staying odor-free. Do your homework, because - as they say - there is no bad weather, only bad clothing choices.
Shelter - You mean a tent, right? Well, not necessarily. It could be an Air B&B, hotel room, or a cabin. This type of travel is often referred to as “credit card touring”. But for fully-loaded self-supported bikepacking, let’s talk about shelter. Yes, it could be a tent, one or two person is good. Or, it could be a simple tarp. Or a bivy. Very light weight! The key is to choose the right shelter for the right situation. Little or no rain in the forecast? Maybe just throwing your sleeping bag down under the stars is the way to go. Chance of sprinkles overnight? A tarp or bivy should do ‘ya. Extended multi-day excursion with a chance of meatballs? A full coverage tent might be your best bet, as it’ll protect against rain and wind and give you some room to keep your gear dry, too. Plus, tents always seem to give you that “piece of mind” to help you saw those logs!

Sometimes a hearty breakfast is called for.
Food - Easy. Hard. Both. The choice is up to you. You could save weight and go no-cook, just PB&J sandwiches or tortilla wraps with your favorite cold fillings. You could also just carry snacks and buy meals along your route. That saves even more weight. BUT…there is something to be said for a hot meal out on the trail. Maybe it’s Ramen noodles with a tuna pack stirred in for protein, or a Mountain House meal where you just add boiling water and wait 15 minutes. All you really need are three things: a metal cup to boil water in, a small stove with fuel, and a spoon. That’s it! You can even make your own Pepsi Can Stove for pennies and burn denatured alcohol that you can find at most hardware and some grocery stores.
Water - We all know that staying hydrated is important for your safety. Analyzing a route for water access will help better prepare you for the journey. Will you have to carry a lot of water? Carrying water can involve bottles installed on your bike in frame cages, fork, handlebar bags or water bladder on your back. Are there water sources available like streams, rivers or springs? You may need to be prepared to purify water. There are straws, bottles and capsules to purify water, which avoids carrying water whose weight and volume are not negligible. When planning a trip don’t forget that water is not only to hydrate but to wash/rinse dishes and clothes and hydrate a meal or cook pasta, oatmeal, rice, etc.
Hygiene
Words by Belén Castelló, Pictures by Belén Castelló & Tristan Bogaard
Time to break down some barriers! It wasn’t until recently that I became aware of the lack of information around the concept of personal female hygiene and bikepacking. I’ve often been approached by other women with different questions about the subject, which made me realize that this matter may not come as easy to everyone, and that actually, there’s no distinctive guidance out there to help out. With this video, I share my knowledge and experience, hoping it will help you and others out there to understand what female hygiene on a bike looks like. There’s no universal solution for everyone, but perhaps you’ll find good tips and advice to integrate into your future travels. No woman should be stopped from following a dream because of insecurities related to this subject. The more we share about our experiences, the lesser the barriers.
What hygiene items should you carry? Some of the basics include;
Toothpaste
Toothbrush
Travel wash
Towel
1st aid kit
Insect repellent
Chamois Cream
Toilet Paper

Coffee before storming the castle!
Sleeping - Speaking of catching some Z’s, lets touch on the subject of your bedroll. So you know you need a sleeping bag. There are synthetic (cheaper, bulkier, heavier) and down (expensive, lighter, warmer). There is a model for everyone, on every budget. Look for yearly “Editor’s Choice” awards and go from there. Also keep in mind that temperature ratings usually run about 10° higher than you need. So if you buy a 20° bag, expect to start getting cold when the temps hit freezing. Now, there are remedies to that. One is your clothes. Don’t be afraid to wear some - OR ALL - of your clothes to bed. Some people say “if you don’t wear all your clothes to bed, you brought too many clothes”. Another factor is your sleeping pad. Believe it or not, a large portion of your body heat is lost through the ground you’re laying on. I’m a cold sleeper, so I use an insulated pad, even in summer. In the winter, it’s a good idea to have two pads, your regular inflatable with a closed-cell foam pad underneath.

Get out there.


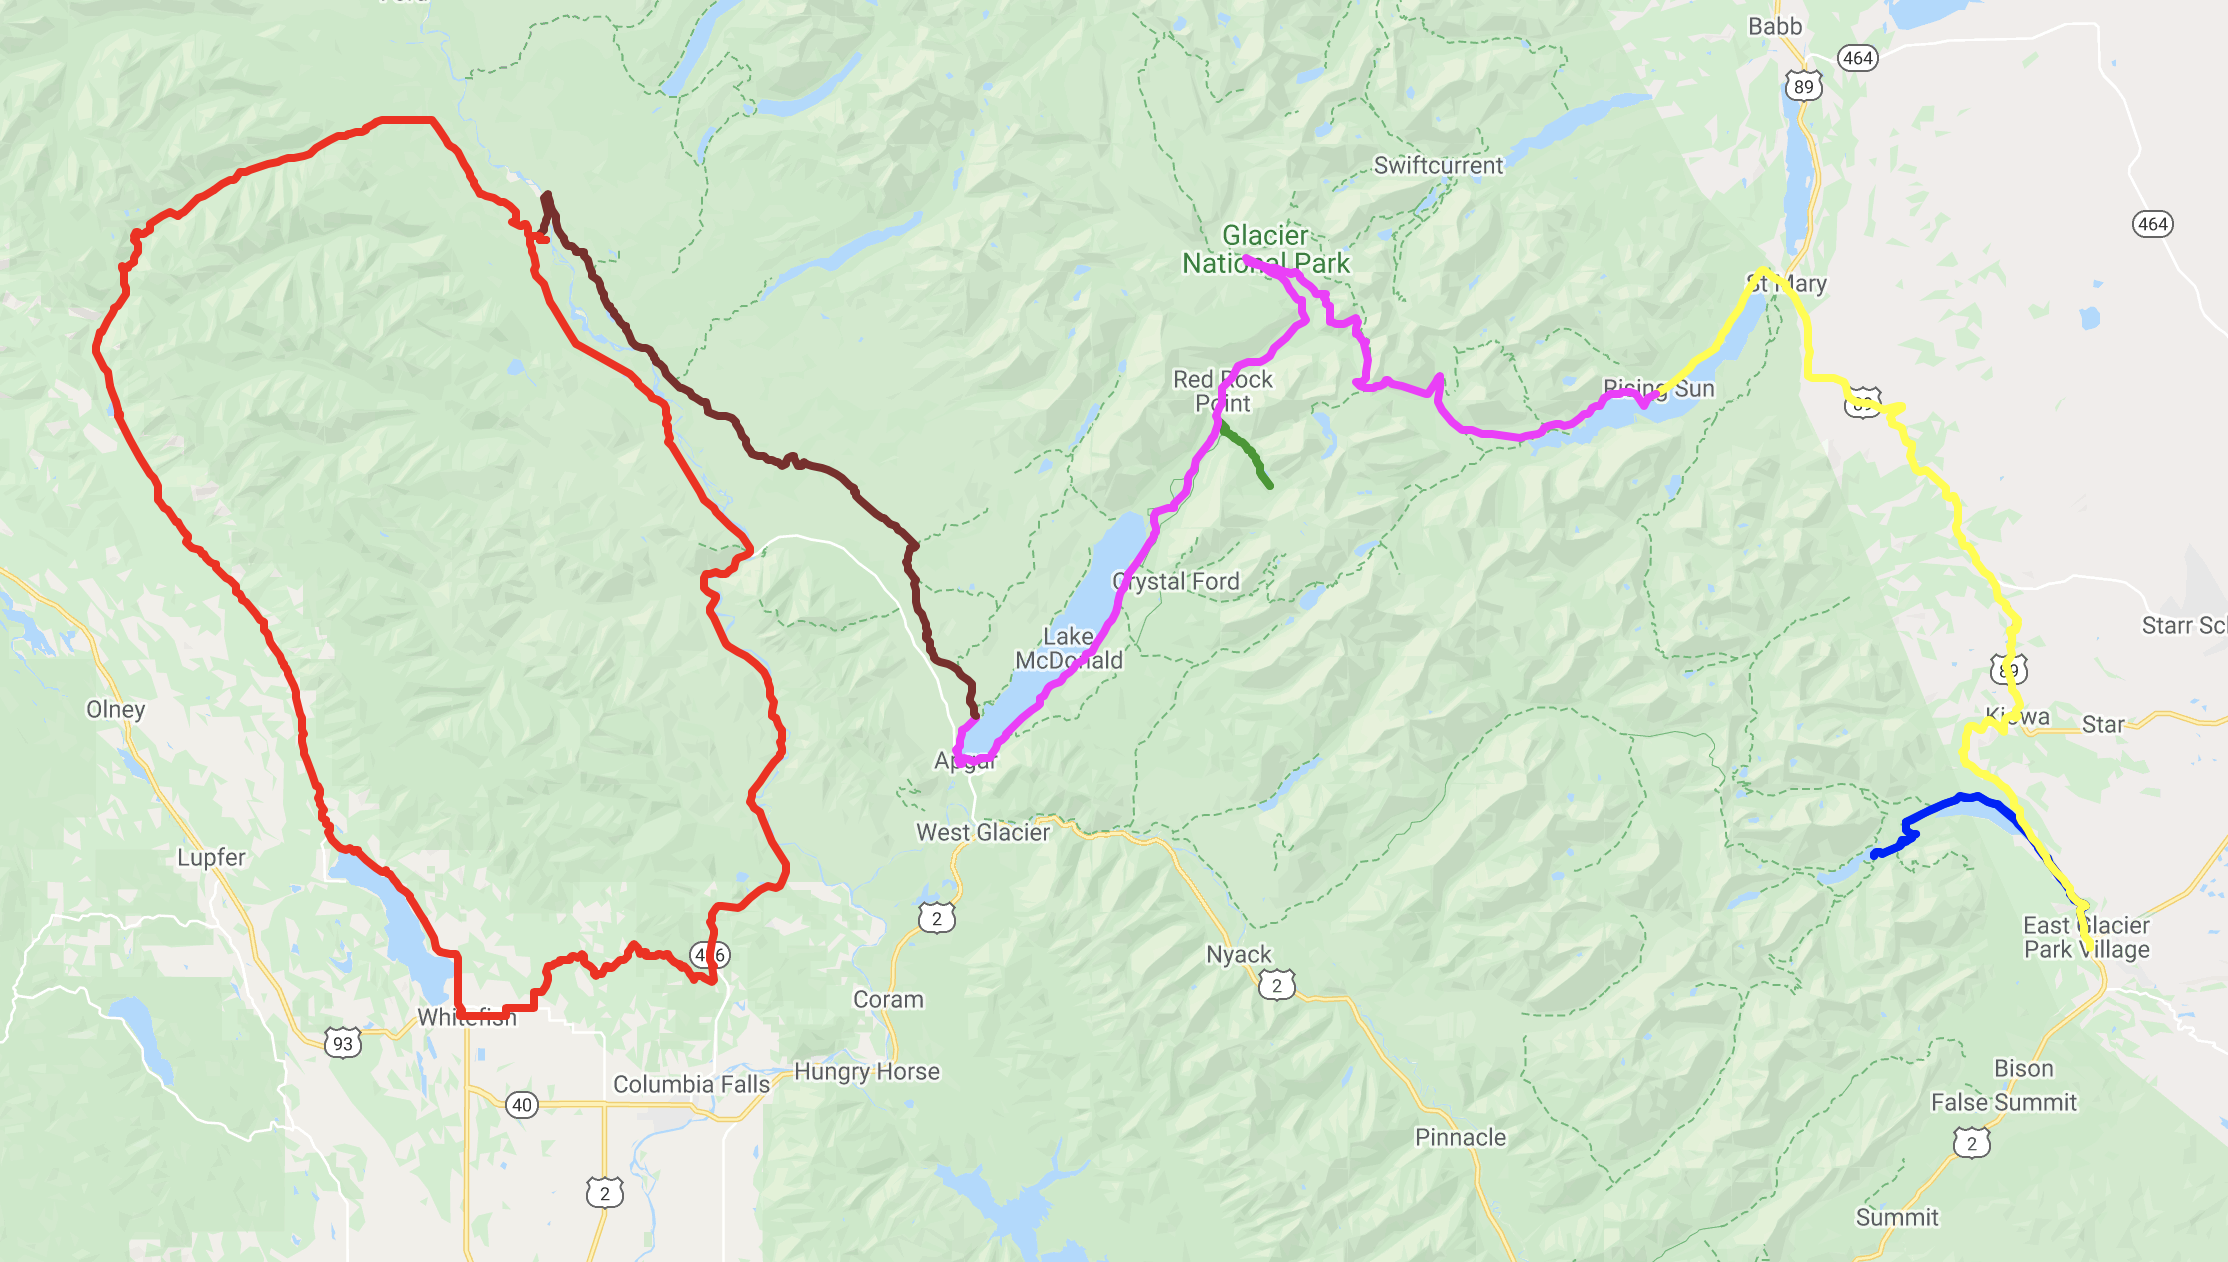
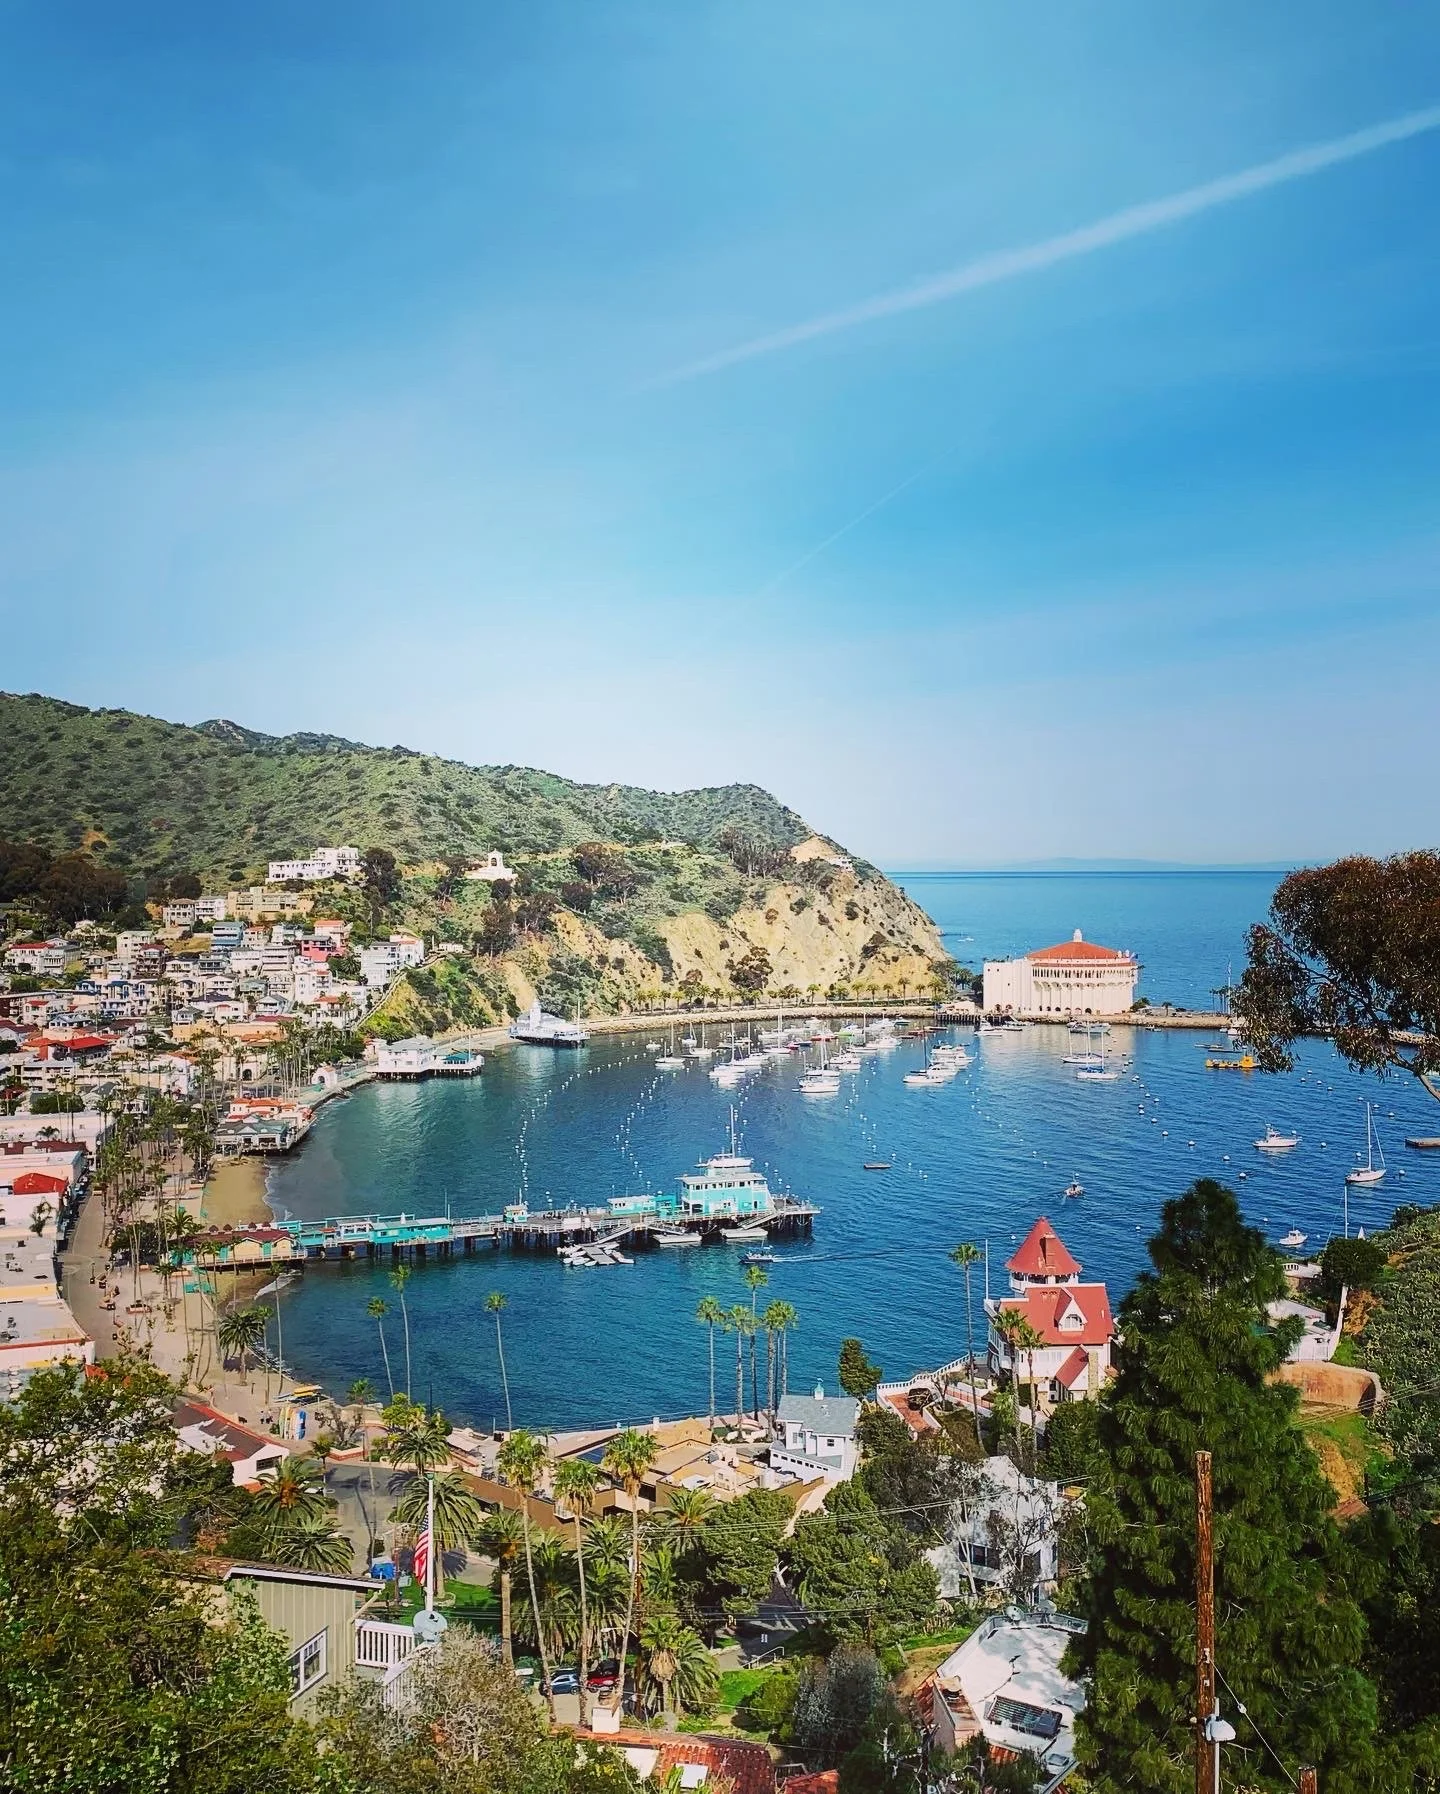
Bikepacking Routes
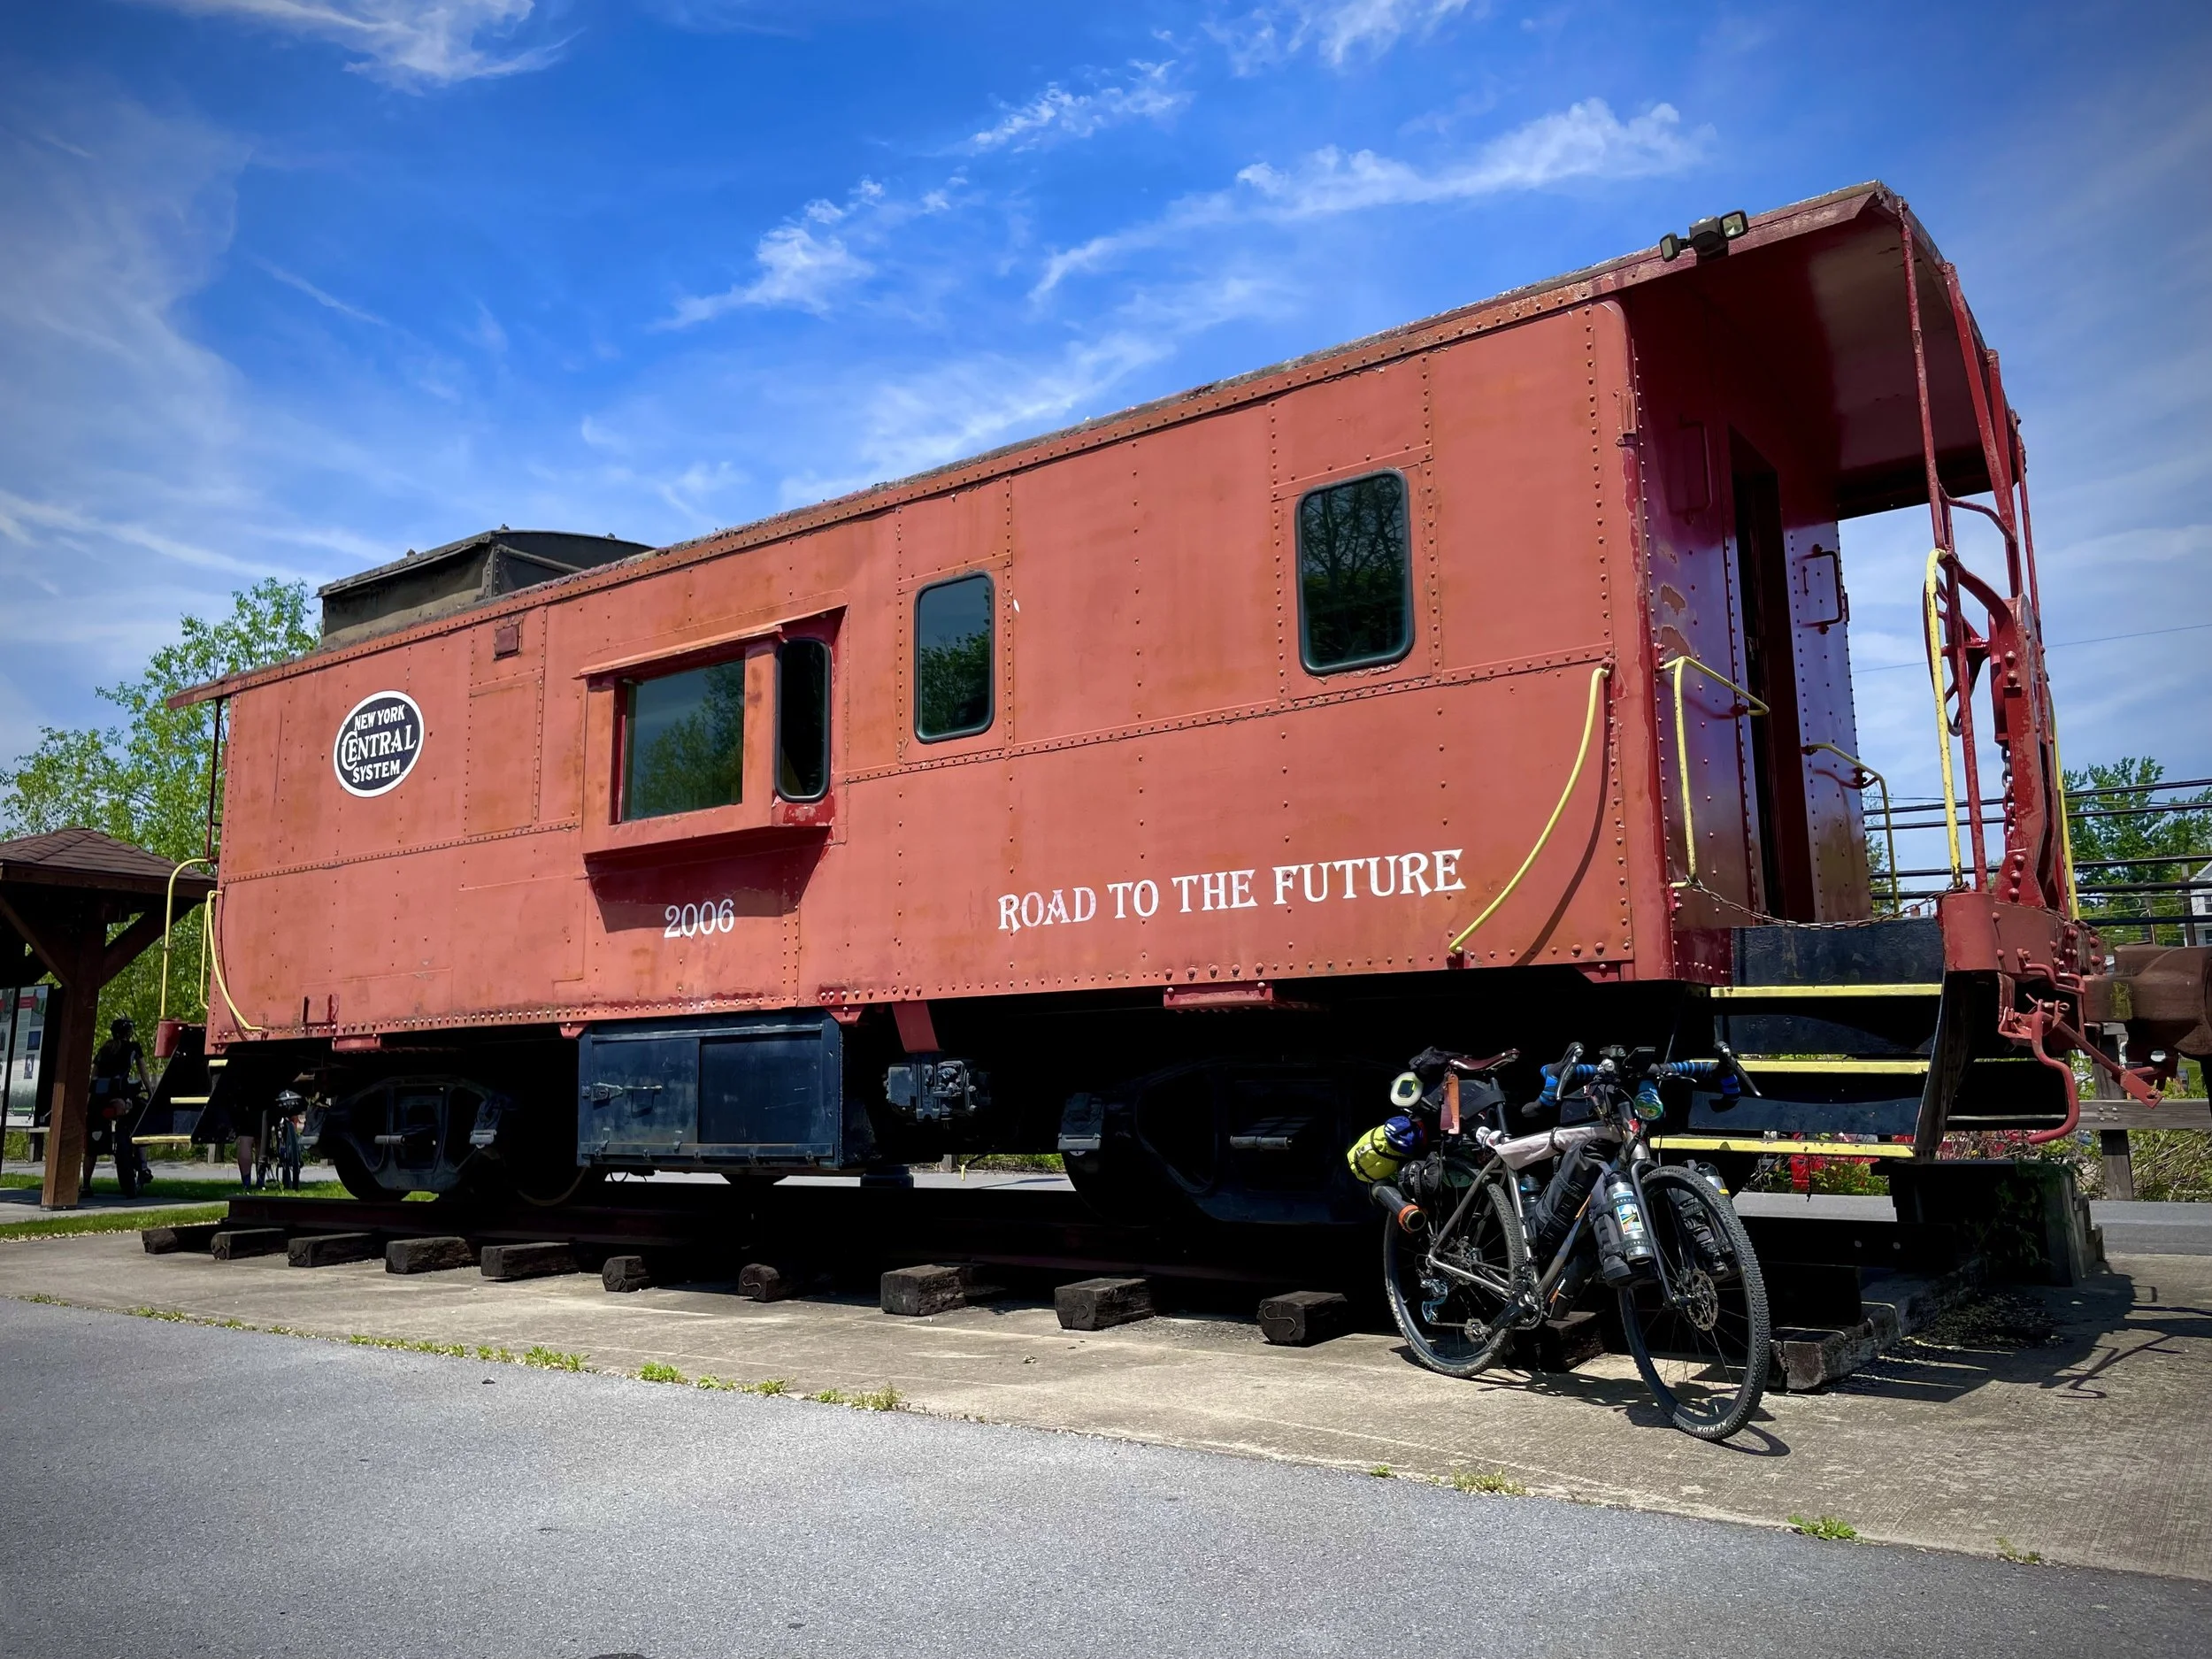
Bikepacking Recaps


Bikepacking Websites
Fine print
By participating in any offline arranged ride or activity, you, your heirs, executors, administrators and representatives do hereby agree and will absolve and hold harmless Ohio Gravel Grinder organizers, it's corporate sponsors, cooperating organizations, and any other parties connected with this web site in any way together with their respective successors from and against any blame and liability for any and all losses, damages, rights, claims, and actions of any kind including, without limitation, personal injuries, death, and property damage, or any other damage of any kind whatsoever either directly or indirectly related to or arising from your participation in any such offline Ohio Gravel Grinder organizers arranged ride or activity.
User assumes all risk and liability for any action in relations to usage of information and routes on ohiogravelgrinders.com, including if actions result in injury, death, loss or damage of personal property or other complications. Ohio Gravel Grinders, its partners, associates, and contributors accept no liability. Route information and advice is provided as a planning resource only, and is not guaranteed to be accurate or complete, and in no way should replace your own due diligence, research, and safety precautions. All users are advised to check current conditions before embarking on any route, including weather, surface conditions and closures. Riders should obey all laws including public and private land usage restrictions and guidelines and carry adequate safety and navigational equipment.
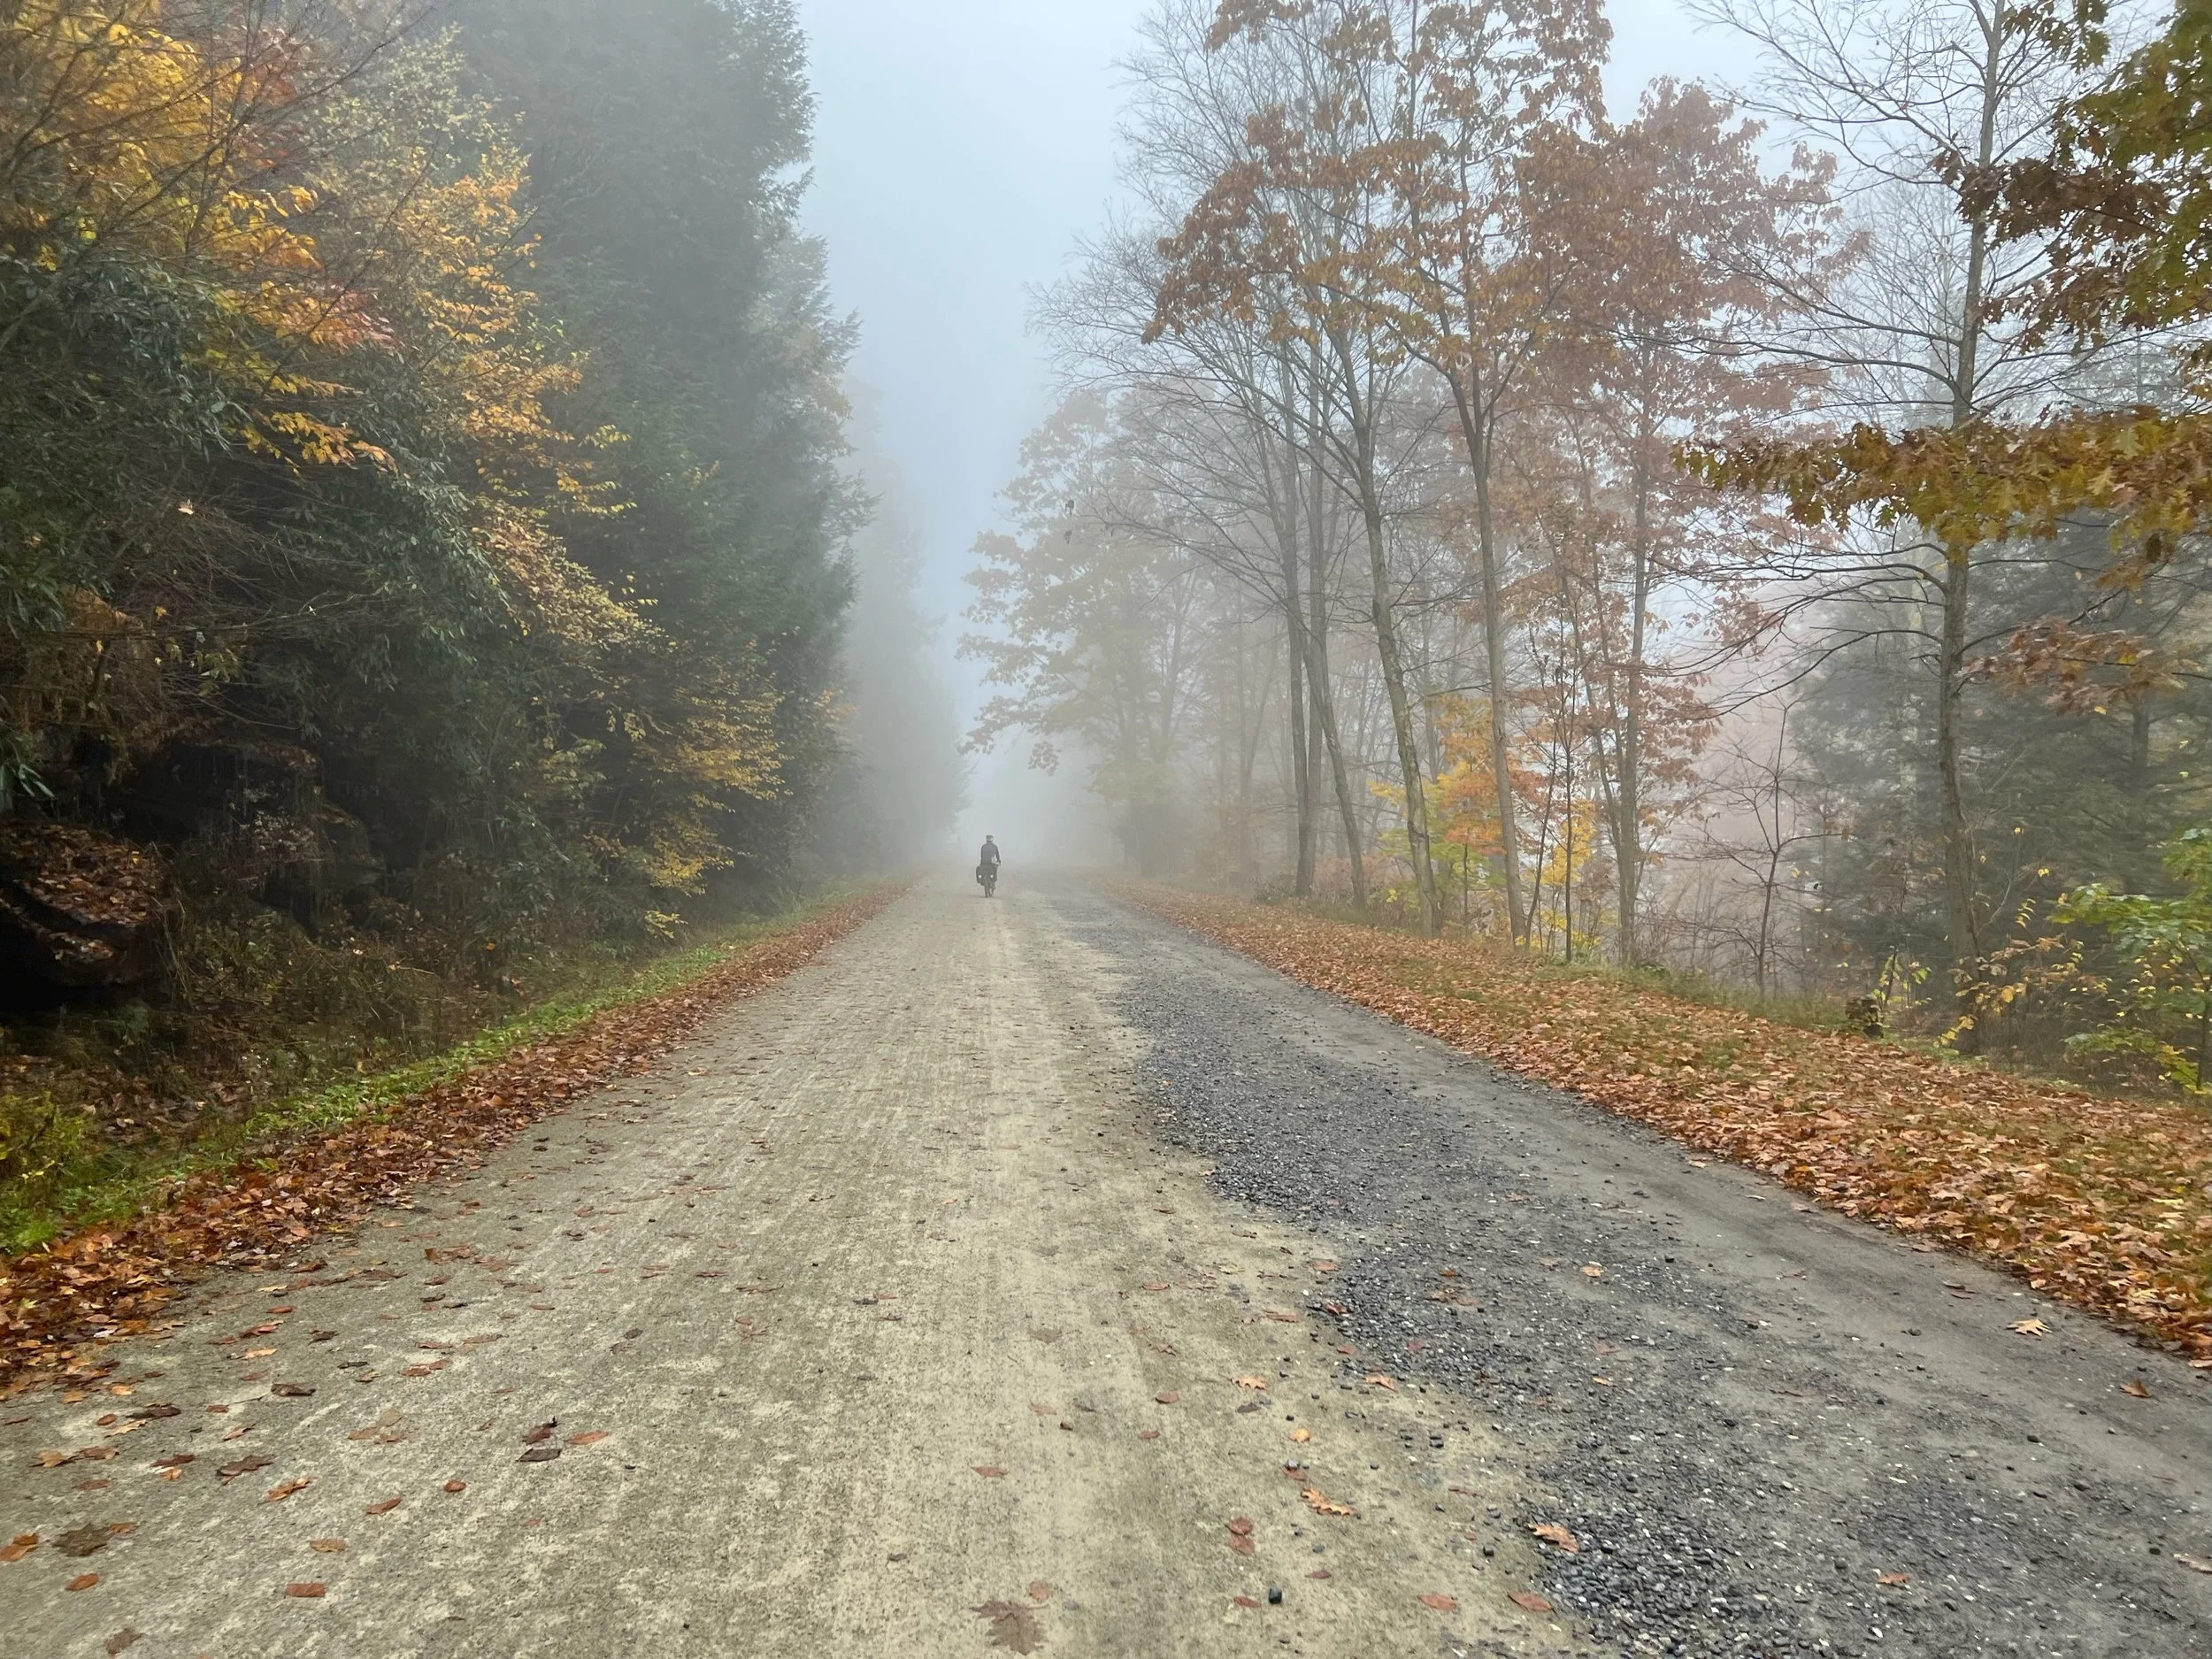
A great overnighter option for those visiting Morgantown with some serious challenge for one night! Park at Coopers or Quebec Run and camp on the other side. Both routes are fun with their own unique challenges.